Case Summary
Overview
The Case Summary screen is used to review case information at a glance. This screen can be accessed in one of the following ways:
- From the Menu bar by navigating to Cases – Home – Case Summary
- By clicking the Case Number hyperlink on the Case Info Bar
- By clicking the Case Summary option on the Quick Nav Bar from some screens
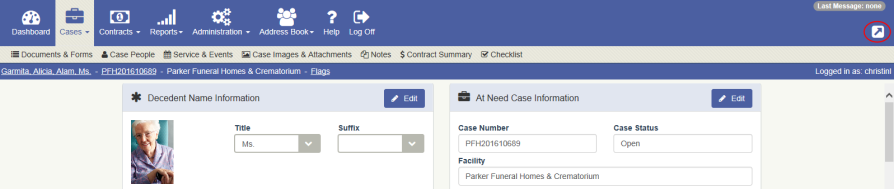
This screen consolidates important case information from many other screens. The information is organized into several “widgets”:
- Name Information widget
- Case Information widget
- Case Documents & Forms widget
- Case Person widget
- Services and Events widget
- Documents and Images widget
- Notes widget
- Contract Summary widget
- Checklist widget
You can use the buttons on the Quick Nav bar to quickly jump down or up to the desired widget.

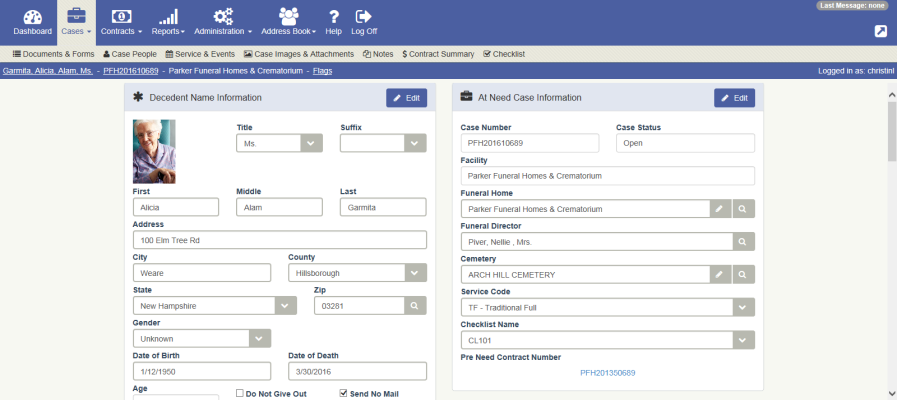
You will notice that the content of some of the widgets vary depending on the type of case you are working with. For example, if you are working with an At Need case, the title of the name widget is “Deceased Name Information”. On the other hand, if you are working with a Preneed case, the title of the name widget is “Beneficiary Name Information”. Likewise, if the person is deceased, their phone number will not be displayed .
The name widget will display the obituary photo selected on the Obituary screen.
Editing Fields
Each widget has an Edit button which will navigate you to a screen where you can edit the information displayed in the widget. For example, if you click the Edit button on the Name Information Widget, you will be navigated to the Name Maintenance screen where you can edit name related information.
You can also edit the Name widget and Case Information widget directly on the Case Summary screen.
Note:
• If you change the Checklist Name from an existing Checklist, you get the following message: “Changing checklist type would delete all checklist data on save. Do you wish to continue?” If you click OK – the checklist will be saved and any case forms or checklist items on the checklist will be updated upon save of the Case Summary screen.
• Changes can be made to “Open” or “Uploaded” cases.
Printing Forms & Custom Documents
The Case Documents & Forms widget can be used to print custom documents and forms that are associated to the cases checklist. (In order to use this feature, specific forms and custom documents must be associated to a checklist and then the checklist must be selected on the case.)
Validating a Case
Use the Validate Case button in the footer to navigate to the Case Validation Summary screen where you can validate a case is ready to upload to the financial system.
Click the arrow button in the upper right hand corner of this screen to navigate to the Family Arrangement Planner Introductory screen which is a family-facing screen where you can begin the arrangement meeting with the family.
Note: The Family Arrangement Planner is an additional feature that must be purchased. Please contact sales if you're interested in using this feature.